Day 4 to Day 5 Code Review
Aug 7, 2024
1) Remove a Heart When the Player Catches a Leftover Fish
The first step was positioning the three heart assets in the scene. I then created a new GameObject named Heart in the Hierarchy and made the three heart assets—heart(1), heart(2), and heart(3)—children of the Heart object.
Next, I updated the GameManager script to manage the player’s lives by adding some new code.
1
2
3
4
5
6
7
8
9
10
11
12
13
public class GameManager : MonoBehaviour
{
  ...
  public GameObject = heart;
  private int playerDead = 3;

  ...
  public void UpdatePlayerLives()
      {
          heart.transform.GetChild(playerDead-1).gameObject.SetActive(false);
          playerDead -= 1;
      }
}
The line heart.transform.GetChild(playerLives - 1) refers to accessing the specific child object of the Heart GameObject. So, when UpdatePlayerLives() is called, one of the heart assets disappears from the screen, indicating the player has lost a life.
Finally, I updated the UpdateScore() method to reflect this change.
1
2
3
4
5
6
7
8
9
10
11
12
public void UpdateScore(bool fresh)
    {
        if(fresh)
        {
            Count += 1;
        }
        else
        {
            UpdatePlayerLives();
        }
        CounterText.text = "Fish : " + Count;
    }
2) Set Up Game Over
To determine when the game ends, I decided that the game should be over once all three hearts are gone. In Unity, I created a new “Game Over” text and used it in the code.
1
2
3
4
5
6
7
8
9
10
11
12
13
14
15
16
17
18
19
20
21
public class GameManager : MonoBehaviour
{
  ...
  public Text gameOver;
  ...
  public void UpdatePlayerLives()
      {
          heart.transform.GetChild(playerDead-1).gameObject.SetActive(false);
          playerDead -= 1;

          if (playerDead == 0)
          {
            GameOver();
          }
      }

  public void GameOver()
      {
          gameOverText.gameObject.SetActive(true);
      }
}
3) Set Up Game Start
At this point, when the game ends, the “Game Over” text appears, but the birds and fish still spawn, and the score continues to update. In other words, everything keeps running. To fix this, I added a boolean variable called isGameActive to track whether the game is active or over.
I then updated the GameManager script by deleting the Start() method and creating a new method called GameStart().
1
2
3
4
5
6
7
8
9
10
11
12
13
14
15
16
17
18
19
20
21
public class GameManager : MonoBehaviour
{
    ...
    public bool isGameActive;

    public void GameStart()
    {
        isGameActive = true;
        Count = 0;
        playerDead = 3;

        StartCoroutine(SpawnRandomBirds());
    }

    public void GameOver()
    {
          isGameActive = false();
          gameOverText.gameObject.SetActive(true);
    }
    ...
}
I also added a condition to other methods in different scripts to check if the game is active.
GameManager.cs
1
2
3
4
5
6
7
IEnumerator SpawnRandomBirds()
    {
        while(isGameActive)
        {
          ...
        }
    }
FlightOfBird.cs
1
2
3
4
5
6
7
8
9
10
11
12
13
14
15
16
...
private GameManager gameManager

void Start()
{
    gameManager = GameObject.Find("GameManager").GetComponent<GameManager>();
    ...
}
...
IEnumerator SpawnRandomFishes()
{
    while (gameManager.isGameActive)
    {
      ...
    }
}
PlayerController.cs
1
2
3
4
5
6
7
8
9
10
11
12
13
14
15
16
17
18
19
20
21
22
23
private GameManager gameManager;

void Start()
{
    gameManager = GameObject.Find("GameManager").GetComponent<GameManager>();
}

void Update()
{
    if(gameManager.isGameActive)
    {
      ...
    }
}

private void OnTriggerEnter(Collider other)
{
    if (gameManager.isGameActive)
    {
        ...
    }
    ...
}
Now, when the game is over, all activities will stop.
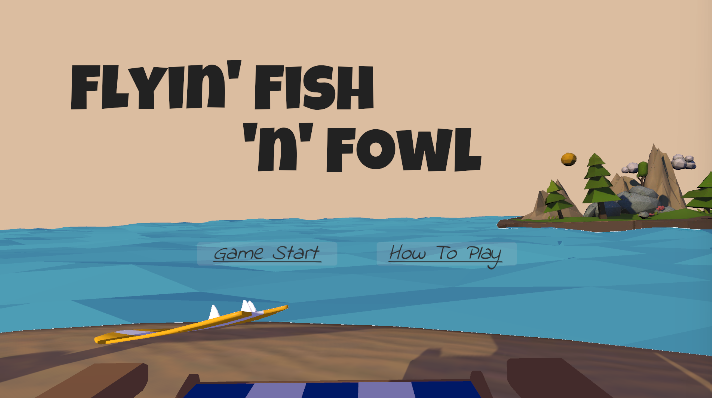
4) Add Title, GameStart Button and How To Play Button
The first thing I did was adjust the camera’s position. Since my main game screen is quite simple, I didn’t want to place the title directly on it. Instead, I decided to showcase a cute island from the ‘LowPoly Water’ asset I had downloaded earlier.
Once I settled on the camera position, I added the title and buttons. Here’s the result:
The fonts used are from Google Fonts -> https://fonts.google.com/?preview.layout=grid
There are a lot of cute fonts available, so check them out!
5) Rotate the Camera Back to the Original Position and Adjust the Light
Before setting up the functionality of the ‘GameStart’ button, I needed to rotate the camera back to its original position—the main gameplay screen. I wanted to ensure the camera movement was smooth, but I’m not very good at calculating rotations. Fortunately, some smart programmers has already developed an asset for smooth rotation, making it easy for me to achieve the desired effect.
You can download it here -> DOTween (HOTween v2)
In addition to rotating the camera, I had previously adjusted the rotation of the light object to better illuminate the island. After setting up the scene, I returned the light’s rotation to its original position for the gameplay screen.
GameManager.cs
1
2
3
4
5
6
7
8
9
10
11
12
13
14
15
16
17
18
19
20
21
22
23
24
25
...
using DG.Tweening;

public class GameManager : MonoBehaviour
{
  ...
  public Camera mainCamera;
  private Vector3 cameraPos = new Vector3(33.9f, 22.6f, 8.7f);
  private Vector3 cameraRotation = new Vector3(15, 270, -0.076f);
  public float cameraRotateSpeed;
  public float cameraMoveSpeed;

  public GameObject mainLight;
  private Quaternion lightRotation = Quaternion.Euler(161.32f, 150, 0);

  public void GameStart()
  {
    ...
    mainCamera.transform.DOMove(cameraPos, cameraMoveSpeed);
    mainCamera.transform.DORotate(cameraRotation, cameraRotateSpeed);

    mainLight.transform.rotation = lightRotation;
    ...
  }
}
6) Set Up the ‘GameStart’ Button
When the player clicks the ‘Game Start’ button, the camera will rotate and move to its original position. However, the title and buttons were still visible on the screen, so I needed to deactivate them and make the score text and hearts appear instead.
1
2
3
4
5
6
7
8
9
10
public void GameStart()
{
  ...
  gameStartButton.gameObject.SetActive(false);
  howToPlayButton.gameObject.SetActive(false);
  titleText.gameObject.SetActive(false);
  CounterText.gameObject.SetActive(true);
  heart.gameObject.SetActive(true);
  ...
}
Aug 8, 2024
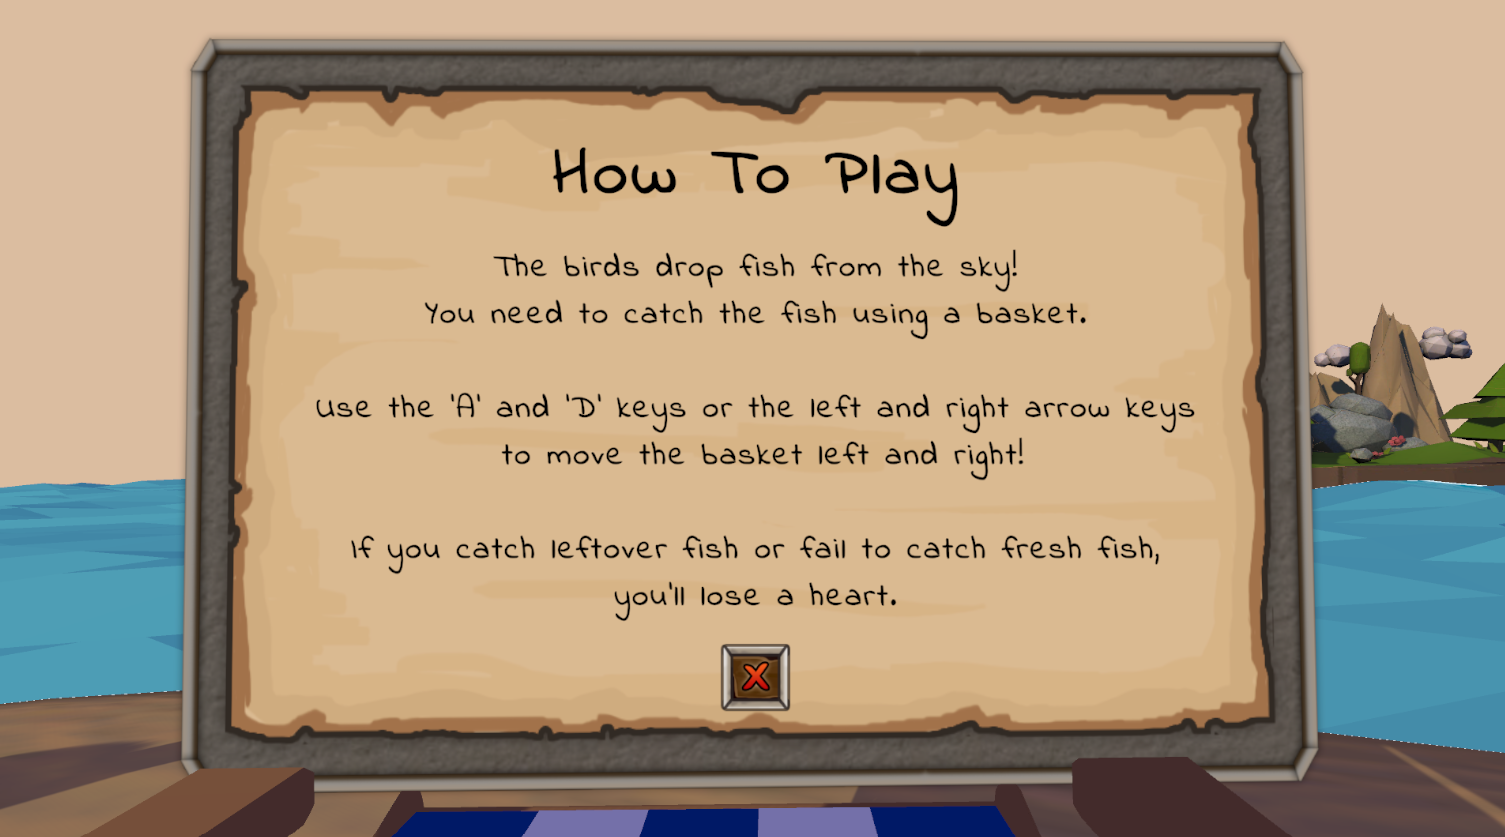
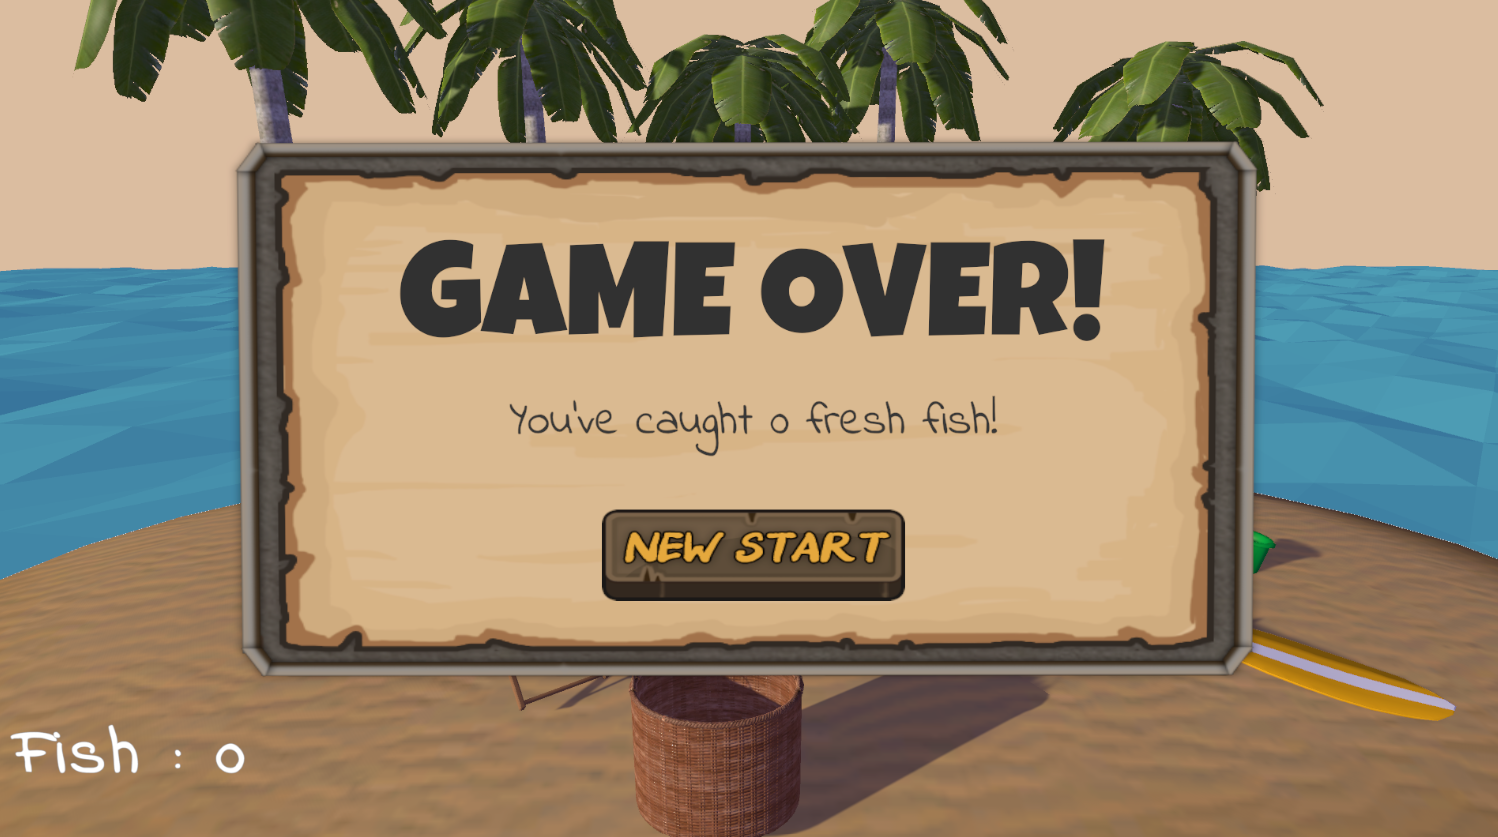
1) Set up the other Buttons and Texts
I also added several other buttons and texts, such as the ‘How to Play’ button and text, ‘Restart’ button, ‘Result’ text, etc. However, setting these up didn’t require complex programming—it was similar to what I did for the ‘GameStart’ button. Since there’s nothing particularly challenging here, I won’t go into detail, but here’s a screenshots of results.

2) Load the First scene
After the game is over, the ‘Restart’ button will appear on the screen. When the player clicks this button, the game should return to the start screen. I accomplished this with a simple piece of code.
GameManager.cs
1
2
3
4
5
6
7
8
9
10
11
...
using UnityEngine.SceneManagement;

public class GameManager : MonoBehaviour
{
  ...
  public void RestartGame()
  {
    SceneManager.LoadScene(SceneManager.GetActiveScene().name);
  }
}
Yay! That was my journey in programming this project. Pretty easy, right?
You can check my code here : https://github.com/YeHyunCho/Learning_Unity/tree/main/Counting%20Prototype/Assets/Scripts
I may have forgotten to include some parts of the code in this post, but I’ll keep checking and updating it as needed. Thanks for reading, and I hope to be back soon with more to share. See you soon!